Tooltips are considered to be a good user experience enhancement, which can allow visitors to learn more information about clickable elements like icons, buttons, and links
To show tooltips on HTML elements, you need to use Javascript libraries that handle the display and positioning of these tooltips relative to the target button or link. There is quite a large number of choices out there like Tippy and Popper, these libraries require some initialization, either using a custom Javascript code or using html5 data-attributes which is the most intuitive solution.
That's easy to do if you are creating HTML template or custom WordPress themes, But to do so in Oxygen, there is no built-in solution for this, fortunately, we have developed our own attributes manager for this website builder which allow you to manage different tooltip content and settings for each element on your website with writing custom code!
Add attributes to Oxygen
First, Tippy.js require only attribute which is data-tippy-content which should contain the tooltip text and we will register it for all the required elements using the Oxygen Attributes plugin
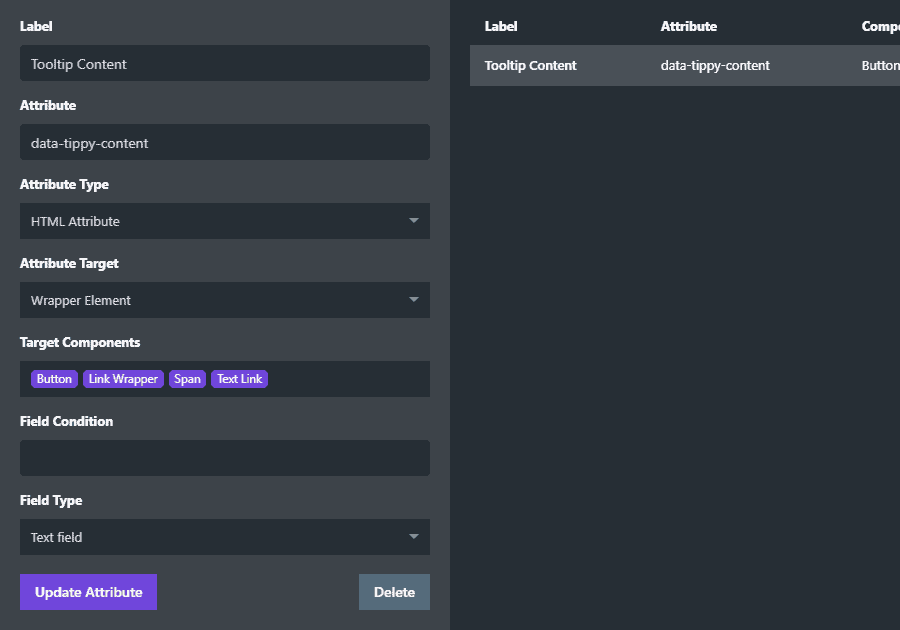
That attribute will allow you add a tooltip to the top of the element, but Tippy.js also have an optional attribute data-tippy-placement to control the position of the tooltip, if you want you to create that attribute, fill the details like in the screenshot below:

The field Condition is used here to organize the editing UI in Oxygen, in this case, the second attribute field for data-tippy-placement won't be shown if data-tippy-content is empty.
That's it for the basic attributes needed for this tooltips library, you can check the official Tippy.js documentation to learn more about extra attributes you may need to further customize the tooltip animation and delay, etc.
Load the required libraries
I have chosen to use Tippy.js to handle all the magic of this guide, so first of all, you need to add a code block to the very bottom of your page or template and paste the following HTML code in the PHP & HTML section:
<script src="https://unpkg.com/@popperjs/core@2"></script>
<script src="https://unpkg.com/tippy.js@6"></script>
<script>
window.addEventListener('load', function() {
tippy('[data-tippy-content]');
});
</script>Code language: HTML, XML (xml)The above code will add the tooltips to any element having the custom attribute data-tippy-content we just created, next, we need to fill these attributes to make the tooltips show some information.
Add tooltips to buttons
Now you are just one step away from adding these beautiful tooltips in your website elements: fill the values of the attributes, like in this demo screenshot
The end result should be something like this
This is how easy you can create and manage tooltips in Oxygen using the attributes addon and the cool Tippy.js library, just remember that you can do much more cool things with Oxygen Attributes not just tooltips, the limit is your imagination and creativity.